Build an AI Powered Mobile Chatbot with Expo and Cloudflare AI
Imagine a smartphone e-commerce striving to ensure its customers enjoy seamless shopping. But how can they achieve this goal? Research suggests that tailored product suggestions play a vital role. In a competitive market, integrating AI chatbots could be a game-changer. These chatbots don't just offer immediate assistance but also provide personalized smartphone recommendations, improving the overall shopping experience and driving sales.
In this article, you will learn how to use vector embeddings to store representations of all the smartphone marketing webpages in your inventory to create personalized recommendations in real-time. By offering better recommendations to users, you can significantly enhance the shopping experience.
In this guide, you will learn how to create vector embeddings for webpages with libraries like Upstash Vector, LangChain and Expo and integrate them with Cloudflare Workers AI (Meta Llama 3) for efficient, scalable deployment. Let’s dive in and automate the way you sell smartphones!
Prerequisites
You will need the following:
- MacOS
- CocoaPods
- A Cloudflare account
- An Upstash account
- An OpenAI account
Tech Stack
Following technologies are used in this guide:
| Technology | Description |
|---|---|
| Expo | Create universal native apps with React. |
| LangChain | Framework for developing applications powered by language models. |
| Upstash | Serverless database platform. You are going to use Upstash Vector for storing vector embeddings and metadata. |
| OpenAI | An artificial intelligence research lab focused on developing advanced AI technologies. |
| Cloudflare Workers AI | Run machine learning models, powered by serverless GPUs, on Cloudflare’s global network. |
| NativeWind | A universal CSS framework on top of TailwindCSS. |
Steps
- Generate an OpenAI Token
- Create an Upstash Vector Index
- Create a new Expo app
- Prompt Meta Llama 3 with Cloudflare Workers AI
- Create OpenAI API Embeddings Client
- Create Upstash Vector Client
- Index Smartphones Webpages for Similarity Search
- Perform similarity search to obtain relevant smartphones recommendations
- Build Conversational UI (with Smartphone Recommendations)
Generate an OpenAI Token
Using OpenAI API, you are able to obtain vector embeddings of the articles, and create chatbot responses using AI. Any request to OpenAI API requires an authorization token. To obtain the token, navigate to the API Keys in your OpenAI account, and click the Create new secret key button. Copy and securely store this token for later use as OPENAI_API_KEY environment variable.
Create an Upstash Vector Index
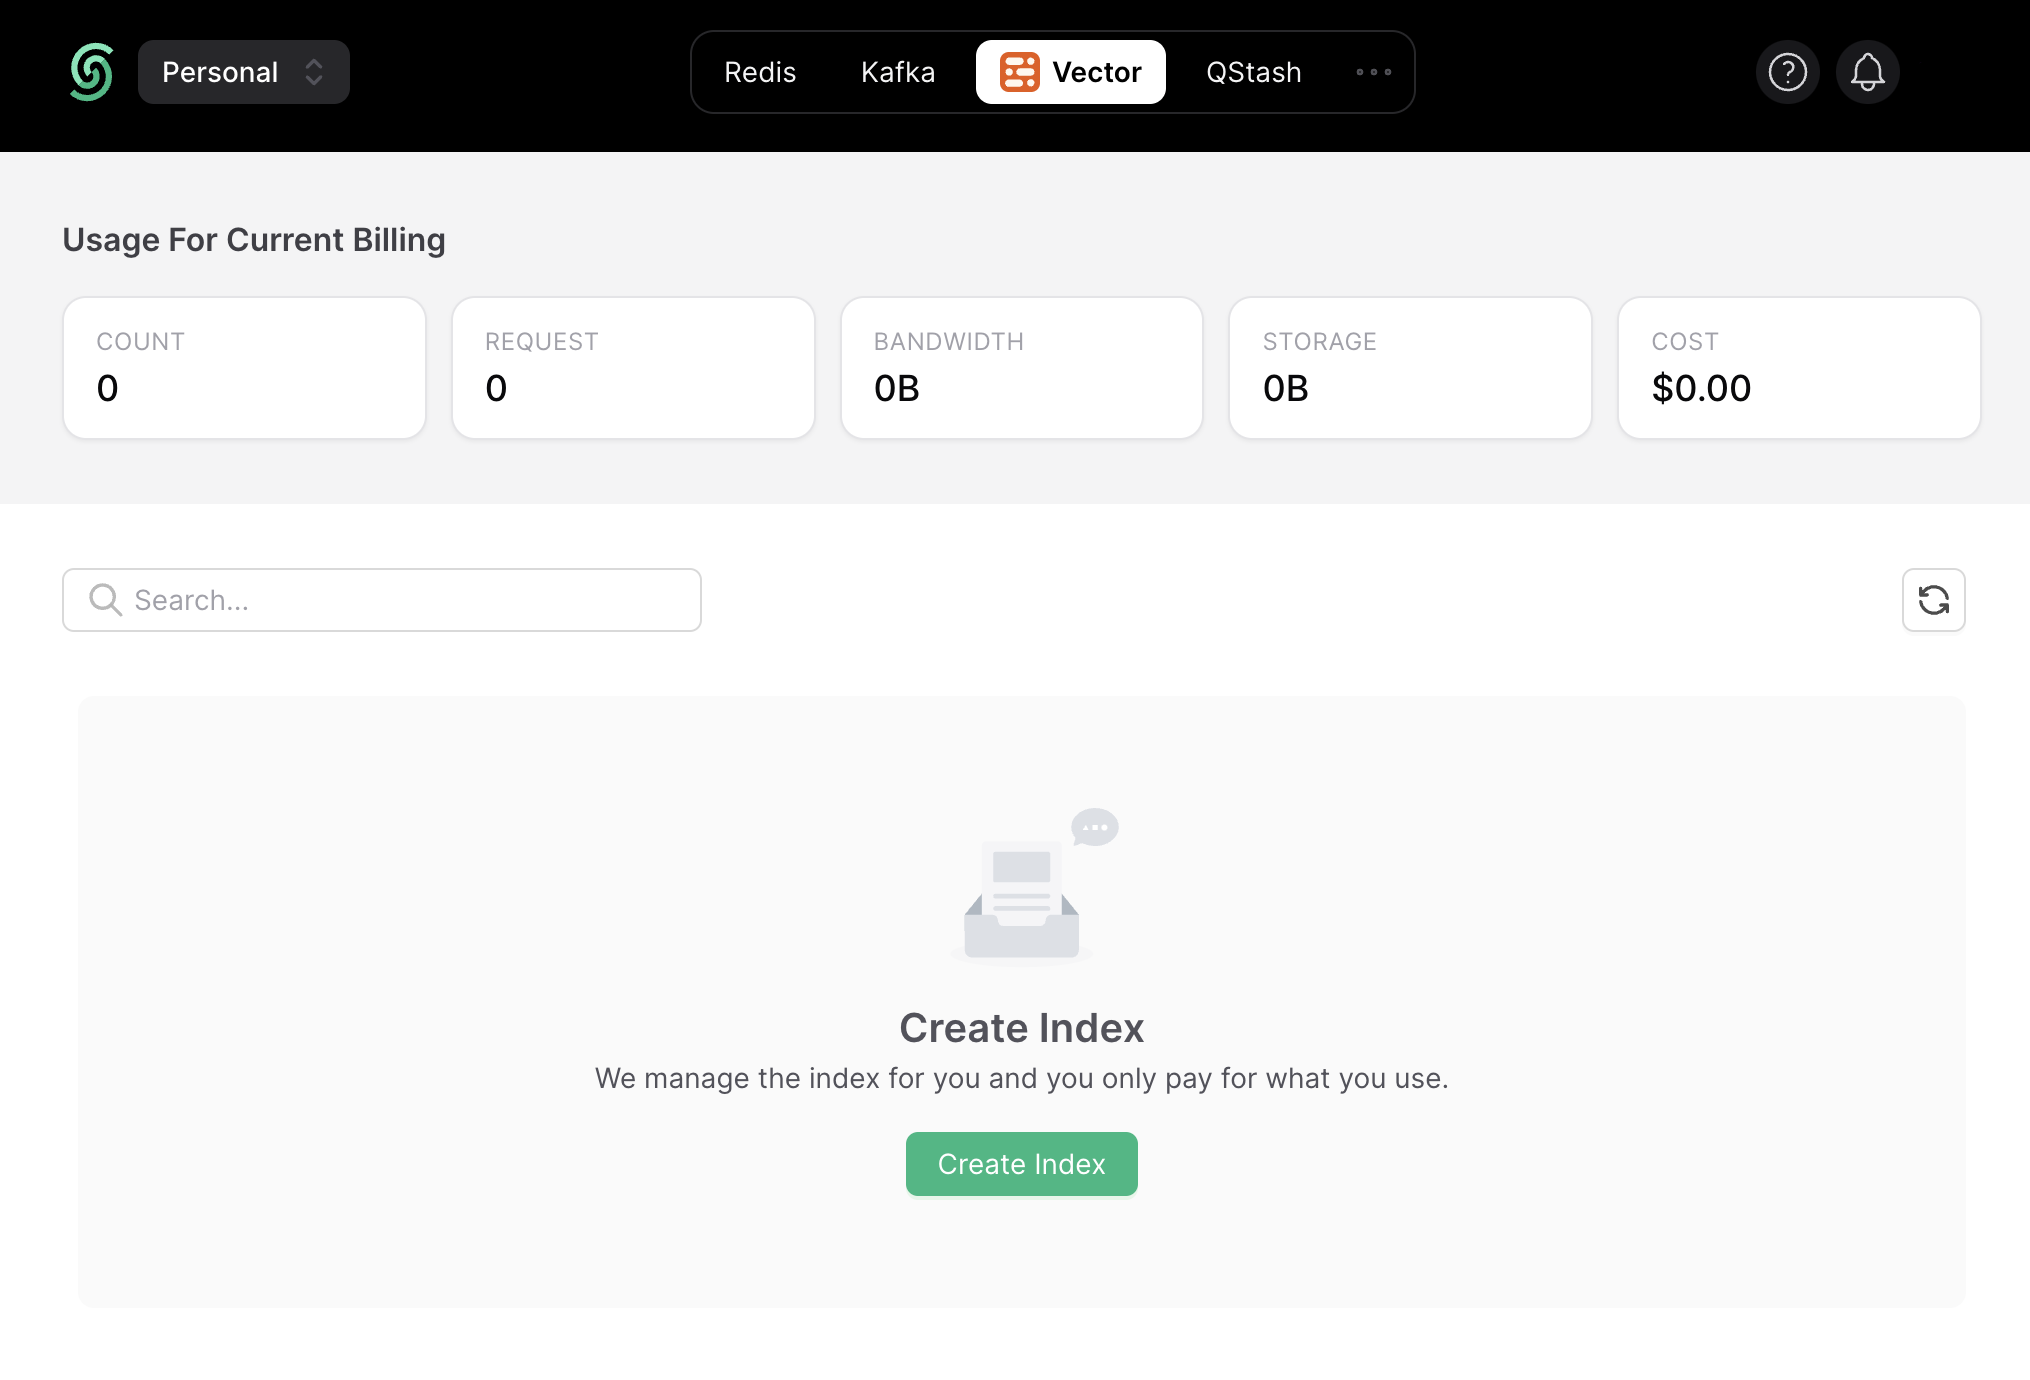
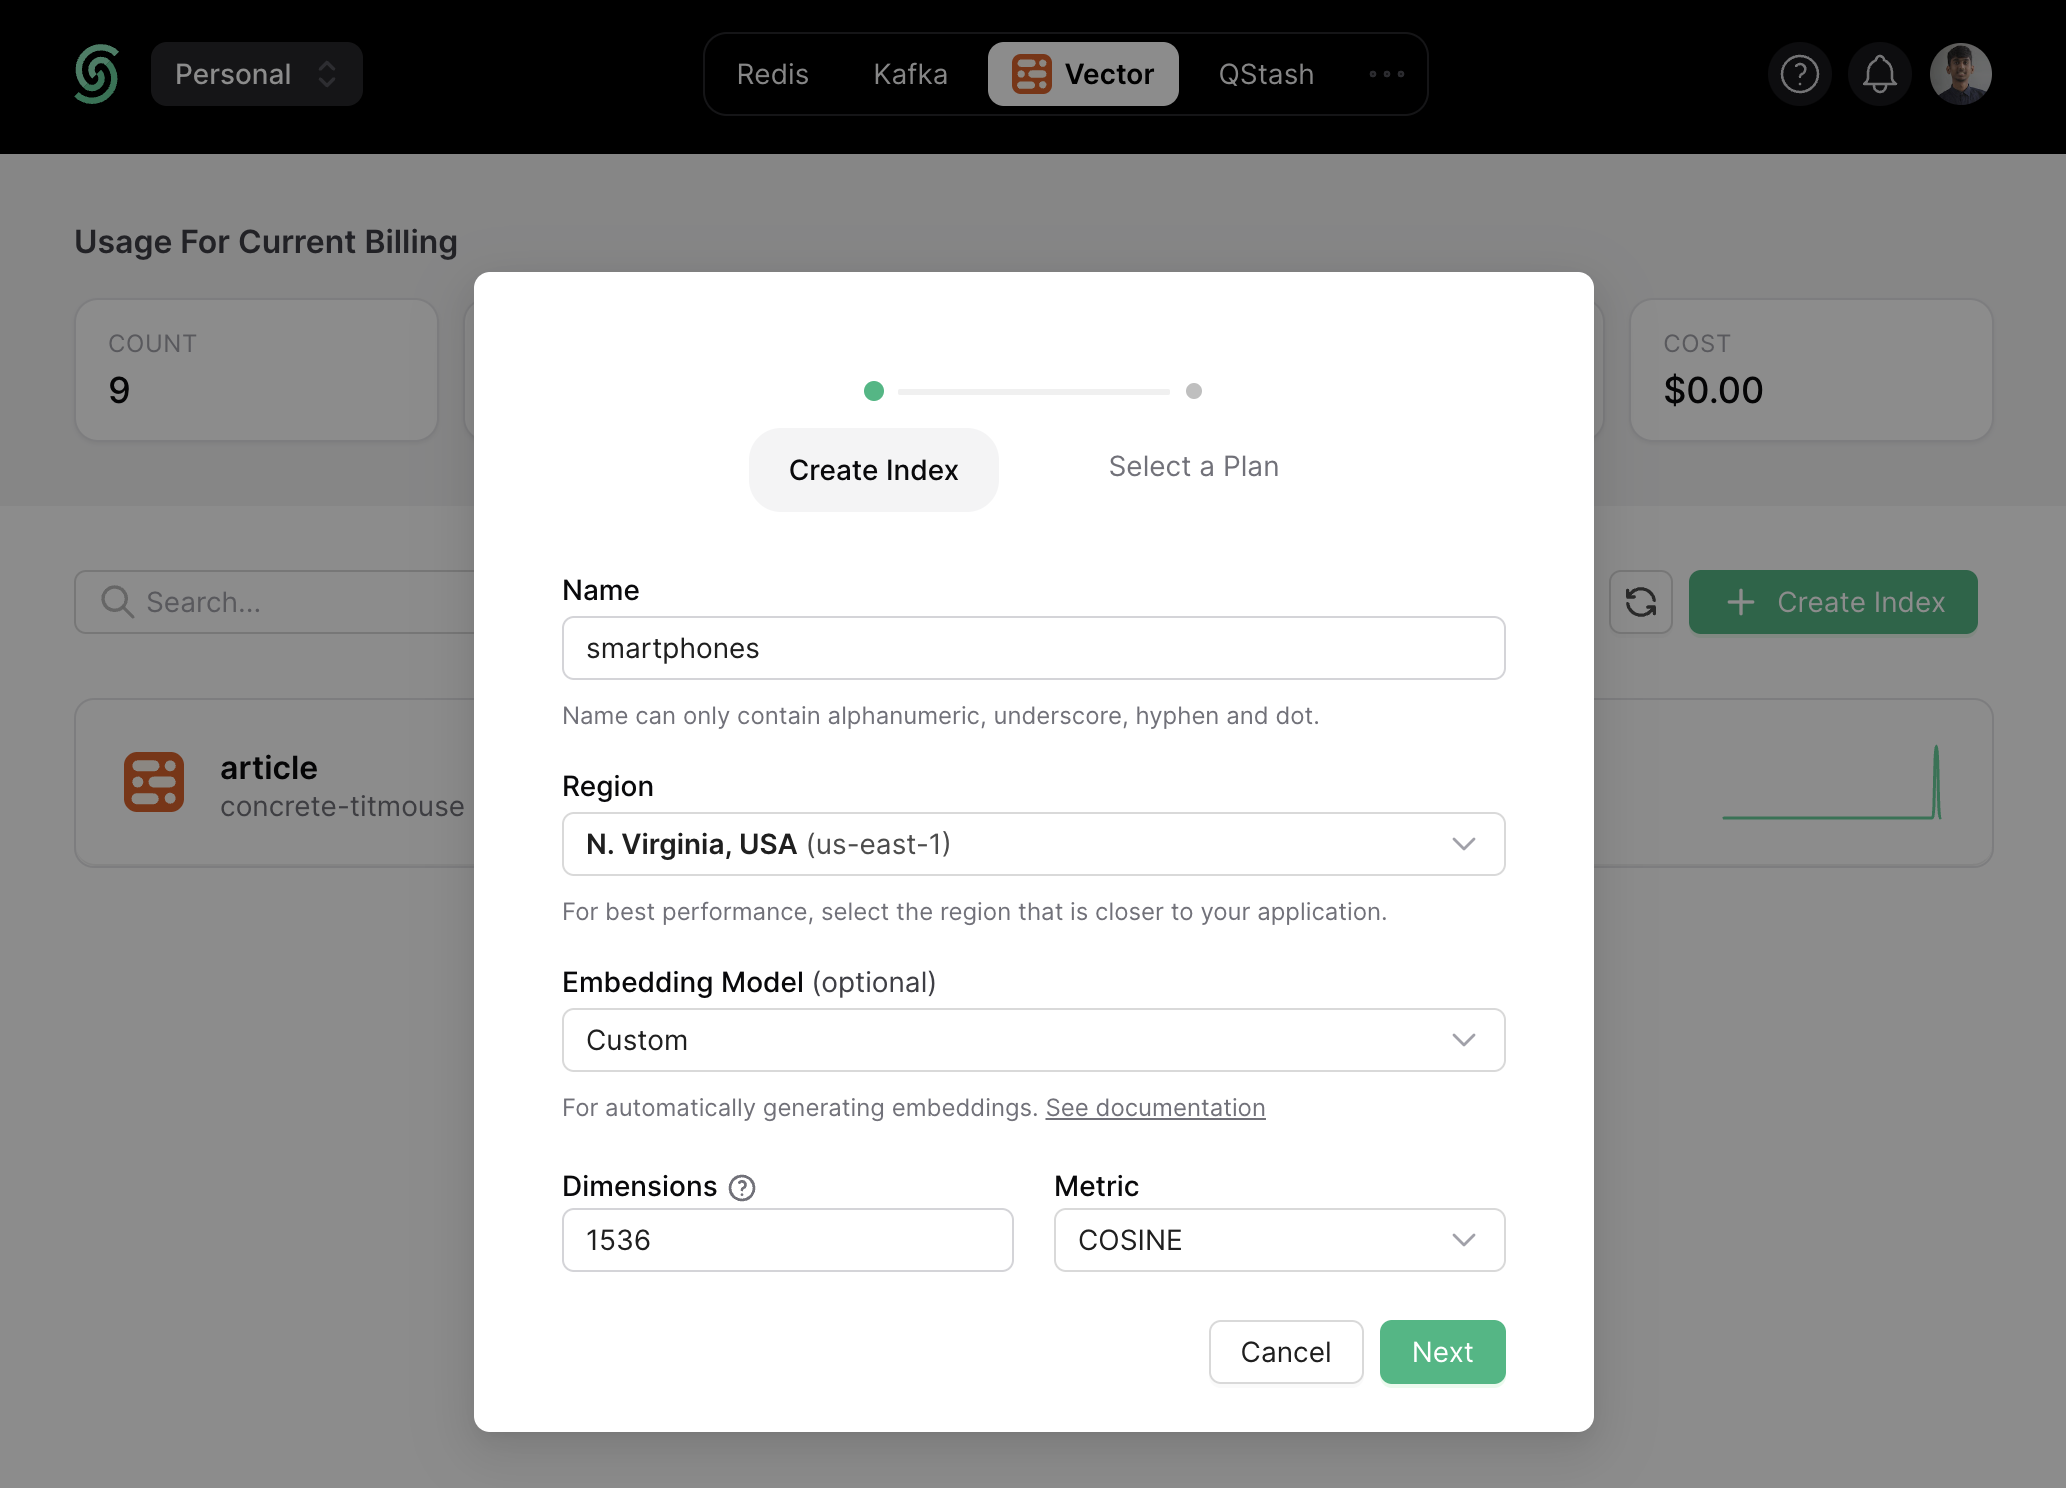
Once you have created an Upstash account and are logged in, go to the Vector tab and click on Create Index to start creating a vector index.

Enter the index name of your choice (say, smartphones) and set the vector dimensions to be of 1536 (default).

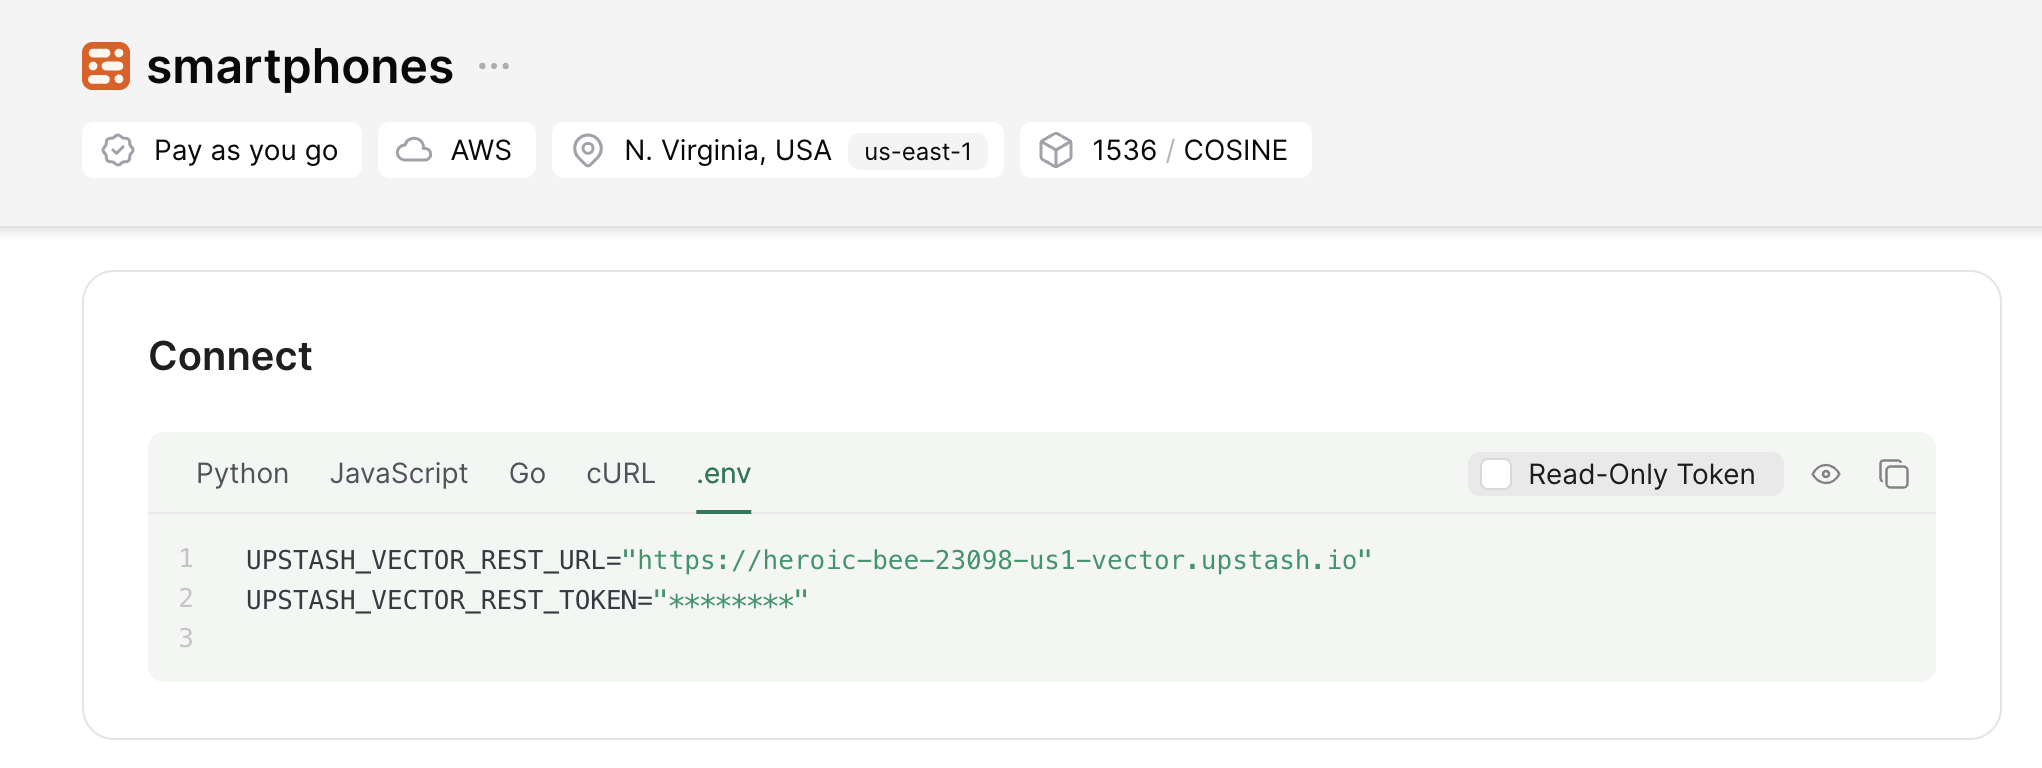
Now, scroll down till the Connect section, and click the .env button. Copy the contents, and save it somewhere safe to be used further in your application.

Create a new Expo app
Let’s get started by creating a new Expo project. Open your terminal and run the following command:
npx create-expo-app@latest my-appOnce that is done, move into the project directory and start the app in developement mode by executing the following command:
cd my-app
npm run ios
The app should be running on localhost:8081. Stop the development server to install the necessary dependencies with following command:
npm install langchain@0.1.36 @langchain/openai@0.0.28 @langchain/community@0.0.55
npm install cheerio openai @upstash/vector
The command above installs the following packages:
langchain: A framework for developing applications powered by language models.@langchain/openai: A LangChain package to interface with the OpenAI series of models.@langchain/community: A collection of third party integrations for plug-n-play with LangChain core.openai: A library to conveniently access OpenAI's REST API.cheerio: A library for parsing and manipulating HTML and XML.@upstash/vector: A connectionless (HTTP based) Vector client.
Now, create a .env file at the root of your project. You are going to add the secret keys obtained in the sections above.
The .env file should contain the following keys:
# File: .env

# OpenAI Environment Variable
OPENAI_API_KEY="sk-..."

# Upstash Redis Environment Variables
UPSTASH_VECTOR_REST_URL="https://...-us1-vector.upstash.io"
UPSTASH_VECTOR_REST_TOKEN="....=="
To create API endpoints in Expo, you will use Expo Route Handlers which allow you to serve responses over Web Request and Response APIs. To start creating an API route in Expo that serve responses to the user, execute the following command:
mkdir app/api
mkdir lib
Add NativeWind to the application
For styling the app, you will be using NativeWind. Install and set up NativeWind at the root of your project by running:
npm install nativewind@^4.0.1 react-native-reanimated tailwindcss
npx pod-install
The command above installs the following packages:
react-native-reanimated: A re-implementation of React Native's Animated library.tailwindcss: A utility-first CSS framework for rapidly building custom user interfaces.nativewind: A library to create a universal design system (powered with Tailwind CSS).
Then, create a tailwind.config.js file with the following code:
// File: tailwind.config.js

module.exports = {
  content: ["./app/**/*.{js,jsx,ts,tsx}"],
  presets: [require("nativewind/preset")],
};
Then, create a file named global.css with the following code:
@tailwind base;
@tailwind components;
@tailwind utilities;
Then, update the file babel.config.js with the following code:
// File: babel.config.js

module.exports = function (api) {
  api.cache(true);
  return {
    presets: [
      ["babel-preset-expo", { jsxImportSource: "nativewind" }],
      "nativewind/babel",
    ],
  };
};
Then, create a file named metro.config.js with the following code:
// File: metro.config.js

const { getDefaultConfig } = require("expo/metro-config");
const { withNativeWind } = require('nativewind/metro');

const config = getDefaultConfig(__dirname)

module.exports = withNativeWind(config, { input: './global.css' })
Then, create a file named nativewind-env.d.ts file with the following code:
/// <reference types="nativewind/types" />Finally, update the file app/_layout.tsx with the following code:
// File: app/_layout.tsx

import "@/global.css";
import { Slot } from "expo-router";

export default function Layout() {
  return <Slot />;
}
The Slot component takes care to render the content in files in the same (and nested) directories. So now the code in app/index.tsx when rendered will have the global CSS styles applied automatically.
Prompt Meta Llama 3 with Cloudflare Workers AI
Inside the my-app directory, run the following command to spin up Cloudflare Workers project:
npm create cloudflare@latest cf-apiWhen prompted, choose:
"Hello World" Workerfor What type of application do you want to create?Yesfor Do you want to use TypeScript?
Then, edit the wrangler.toml file and un-comment the following two lines:
[ai]
binding = "AI"
Finally, replace the code in src/index.ts with the following:
// File: src/index.ts

export interface Env {
	AI: any;
}

export default {
	async fetch(request, env): Promise<Response> {
		const { messages = [] } = (await request.json()) as { messages?: string[] };
		const response = await env.AI.run('@cf/meta/llama-3-8b-instruct', { messages });
		return Response.json(response);
	},
} satisfies ExportedHandler<Env>;
The code above uses the Cloudflare Workers AI to return a chat completion response from Meta Llama 3 model.
Now, run the Cloudflare Workers locally via the following command:
npx wrangler devThe workers should be running on localhost:8787. Let's keep it running while you proceed to create the API endpoints and UI in the Expo application.
Create OpenAI API Embeddings Client
With @langchain/openai package, you are able to use the OpenAIEmbeddings class for generating vector embeddings of a given text. When combined with any LangChain Vector Store, the OpenAIEmbeddings class saves you from the process of creating and inserting each vector embedding on your own. With the following code in a file named openai.server.ts in the lib directory, we have instantiated the OpenAIEmbeddings class for further use to create vector embeddings under the hood.
// File: lib/openai.server.ts

import { OpenAIEmbeddings } from '@langchain/openai'

// Instantiate class to generate embeddings using the OpenAI API
export default new OpenAIEmbeddings({
  modelName: 'text-embedding-3-small',
  openAIApiKey: process.env.OPENAI_API_KEY,
})
Create Upstash Vector Client
Using @upstash/vector and @langchain/community/vectorstores/upstash packages, you are able to create a connectionless client in your Expo application that allows you to store, delete, and query vector embeddings from an Upstash Vector index. Create a file named upstash.server.ts in the lib directory with the following code:
// File: lib/upstash.server.ts

import embeddings from './openai.server'
import { Index as UpstashIndex } from '@upstash/vector'
import { UpstashVectorStore } from '@langchain/community/vectorstores/upstash'

// Instantiate the Upstash Vector Index
const index = new UpstashIndex({
  url: process.env.UPSTASH_VECTOR_REST_URL as string,
  token: process.env.UPSTASH_VECTOR_REST_TOKEN as string,
})

// Instantiate the Upstash Vector Store that'll create and save embeddings
export default new UpstashVectorStore(embeddings, { index })
Index Smartphones Webpages for Similarity Search
To be able to recommend smartphones relevant to the user query, you would need to build an index containing the vector embeddings alongwith the metadata, representing the marketing pages of various smartphone(s). Once indexed, smartphones are to be added to the chatbot's knowledge for creating personalized responses in the future user searches. Use the following code in a file named digest+api.ts in the api directory to accept multiple smartphone marketing URLs, fetch their content, generate their vector embeddings, and store them into the Upstash Vector Index dynamically.
// File: app/api/digest+api.ts

import { Document } from "langchain/document";
import vectorStoreServer from "@/lib/upstash.server";
import { RecursiveCharacterTextSplitter } from "langchain/text_splitter";
import { CheerioWebBaseLoader } from "langchain/document_loaders/web/cheerio";

export async function POST(request: Request): Promise<Response> {
  // Set of messages between user and chatbot
  const { phones = [] } = await request.json();
  // Create the documents to be added to the Upstash Vector Store
  const documents: any[] = [];
  await Promise.all(
    phones.map(async (link: string) => {
      // Use the link to render in the search results
      // Parse the link using Cheerio
      const loader = new CheerioWebBaseLoader(link);
      const scraper = await loader.scrape();
      // Get the content of title tag to render in the search results
      const name = scraper("title").html();
      // Get the page content as string
      const pageContent = scraper.text();
      // Create metadata object to be inserted in the vector store
      const metadata = { link, name };
      documents.push(new Document({ pageContent, metadata }));
    })
  );
  const splitter = new RecursiveCharacterTextSplitter();
  const finalDocs = await splitter.splitDocuments(documents.filter(Boolean));
  // Creating embeddings from the provided documents along with metadata
  // and add them to Upstash database
  await vectorStoreServer.addDocuments(finalDocs, {
    ids: finalDocs.map((_, index) => index.toString()),
  });
  return Response.json({ code: 1 });
}
The code parses the smartphone marketing URL(s) sent in the rquest body as phones. Further, it creates a pageContent variable as the text content and name variable as title fetched from the marketing webpage. It then uses these variables to create LangChain Document with the text content, reference and the name of the article (new Document({ pageContent, metadata })) for each page. Finally, all the documents stored in the global documents array are inserted into the Upstash Vector Index. Under the hood, the vector embeddings for each document is generated using it's pageContent property.
Perform similarity search to obtain relevant smartphones recommendations
For the UI to fetch the response containing relevant smartphones, you are going to return the relevant information by creating an endpoint it can talk to. Such an endpoint would be responsible to search for the relevant smartphones based on the user prompt, including title, description and link(s). Create a file named chat+api.ts in the app/api directory with the following code:
// File: app/api/chat+api.ts

import vectorStoreServer from "@/lib/upstash.server";

export async function POST(request: Request): Promise<Response> {
  // Set of messages between user and chatbot
  const { messages = [] } = await request.json();
  // Get the latest question stored in the last message of the chat array
  const searchQuery = messages[messages.length - 1].content;
  // Perform Similarity Search using the Upstash Vector Store
  const queryResult = await vectorStoreServer.similaritySearchWithScore(
    searchQuery,
    3
  );
  // Filter the records with confidence score > 70% and
  // set the metadata as response to render search results
  const results = queryResult
    .filter((i) => i[1] >= 0.7)
    .map((i) => i[0].metadata);
  // Now use OpenAI Text Completion with relevant articles as context
  const completionCall = await fetch("http://localhost:8787", {
    method: "POST",
    body: JSON.stringify({
      messages: [
        {
          // create a system content message to be added as
          // the open ai text completion will supply it as the context with the API
          role: "system",
          content: `Behave like a Google. You have the knowledge of the following smartphones: ${JSON.stringify(
            results
          )}. Each response should be in 100% markdown format and should have hyperlinks in it. Be precise. Do add some general text in the response related to the query.`,
        },
        // also, pass the whole conversation!
        ...messages,
      ],
    }),
    headers: {
      "Content-Type": "application/json",
    },
  });
  const completionResponse = await completionCall.json();
  return Response.json({ data: { content: completionResponse.response } });
}
The code above parses the request body to extract user's last message. It then queries the Upstash Vector index with the similaritySearchWithScore method, specifying to retrieve the top 3 relevant vectors along with their metadata. It then filters the results with a similarity score higher than 0.7, ensuring relevant smartphone recommendations are provided to the user. Finally, it uses the filtered information as the system context for the AI to do the following and return the response to the user:
- Behave like a search engine for smartphones
- Generate markdown compatible responses
- Include hyperlinks to the smartphone(s) pages
With the code above, you are able to obtain results from Cloudflare Workers AI that are context aware, recommending smartphones found relevant to the user search.
Build Conversational UI (with Smartphone Recommendations)
First, install the necessary libraries for building the conversational user interface:
npm install react-native-vercel-ai react-native-markdown-displayThe above command installs the following:
react-native-vercel-ai: A library to build AI-powered streaming text and chat UIs in native environments.react-native-markdown-display: A library for rendering markdown to HTML in native environments.
Next, to display smartphone recommendations in a visually appealing format, including titles and descriptions, create a index.tsx file inside the app directory with the following code:
// File: app/index.tsx

import React from "react";
import { useChat } from "react-native-vercel-ai";
import Markdown from "react-native-markdown-display";
import { Pressable, Text, ScrollView, TextInput, View } from "react-native";

export default function App() {
  const { messages, input, handleInputChange, handleSubmit } = useChat({
    api: "http://localhost:8081/api/chat",
  });
  return (
    <ScrollView className="flex flex-1">
      <View className="flex flex-col px-8 py-12">
        {messages.map((m) => (
          <View
            key={m.id}
            className="flex flex-col gap-y-1 border-b border-gray-100 py-3"
          >
            <Text className="text-gray-600 capitalize">{m.role}</Text>
            <Markdown>{m.content}</Markdown>
          </View>
        ))}
        <TextInput
          value={input}
          placeholder="Say something..."
          // @ts-ignore
          onChangeText={(e) => handleInputChange(e)}
          className="mt-3 w-full p-2 border border-gray-300 rounded"
        />
        <Pressable
          onPress={(e) => handleSubmit(e)}
          className="w-[90px] border rounded px-3 py-1 bg-black mt-3"
        >
          <Text className="text-white">Show Me</Text>
        </Pressable>
      </View>
    </ScrollView>
  );
}
The code above does the following:
- Utilizes the
useChathook to manage chat functionality. - Renders an input field for the user to describe the smartphone they're looking for and a button to submit the query.
- Upon submission, it sends the user input to the specified API endpoint (http://localhost:8081/api/chat).
- Renders the messages received from the API, displaying smartphone recommendations returned by the server.
- Smartphone recommendations are displayed with their title, description and link(s).
That was a lot of learning! You’re all done now ✨
More Information
For more detailed insights, explore the references cited in this post.
- GitHub Repository
- Upstash Vector Store Integration with LangChain
- Load data from webpages using Cheerio in LangChain
- Creating AI Chat UI in React apps
Conclusion
In this guide, you learned how to enhance the shopping experience by dynamically generating smartphone recommendations based on what the users are looking for. With Upstash Vector, you get the ability to store vectors in an index, perform top-K vector search queries and create relevant recommendations for each user search, all within few lines of code.
If you have any questions or comments, feel free to reach out to me on GitHub.
