In this post, we will write a simple TODO app using Remix and Serverless Redis (Upstash).
Remix is a full stack web framework that lets you focus on the user interface and work back through web fundamentals to deliver a fast, slick, and resilient user experience.
Create Remix project
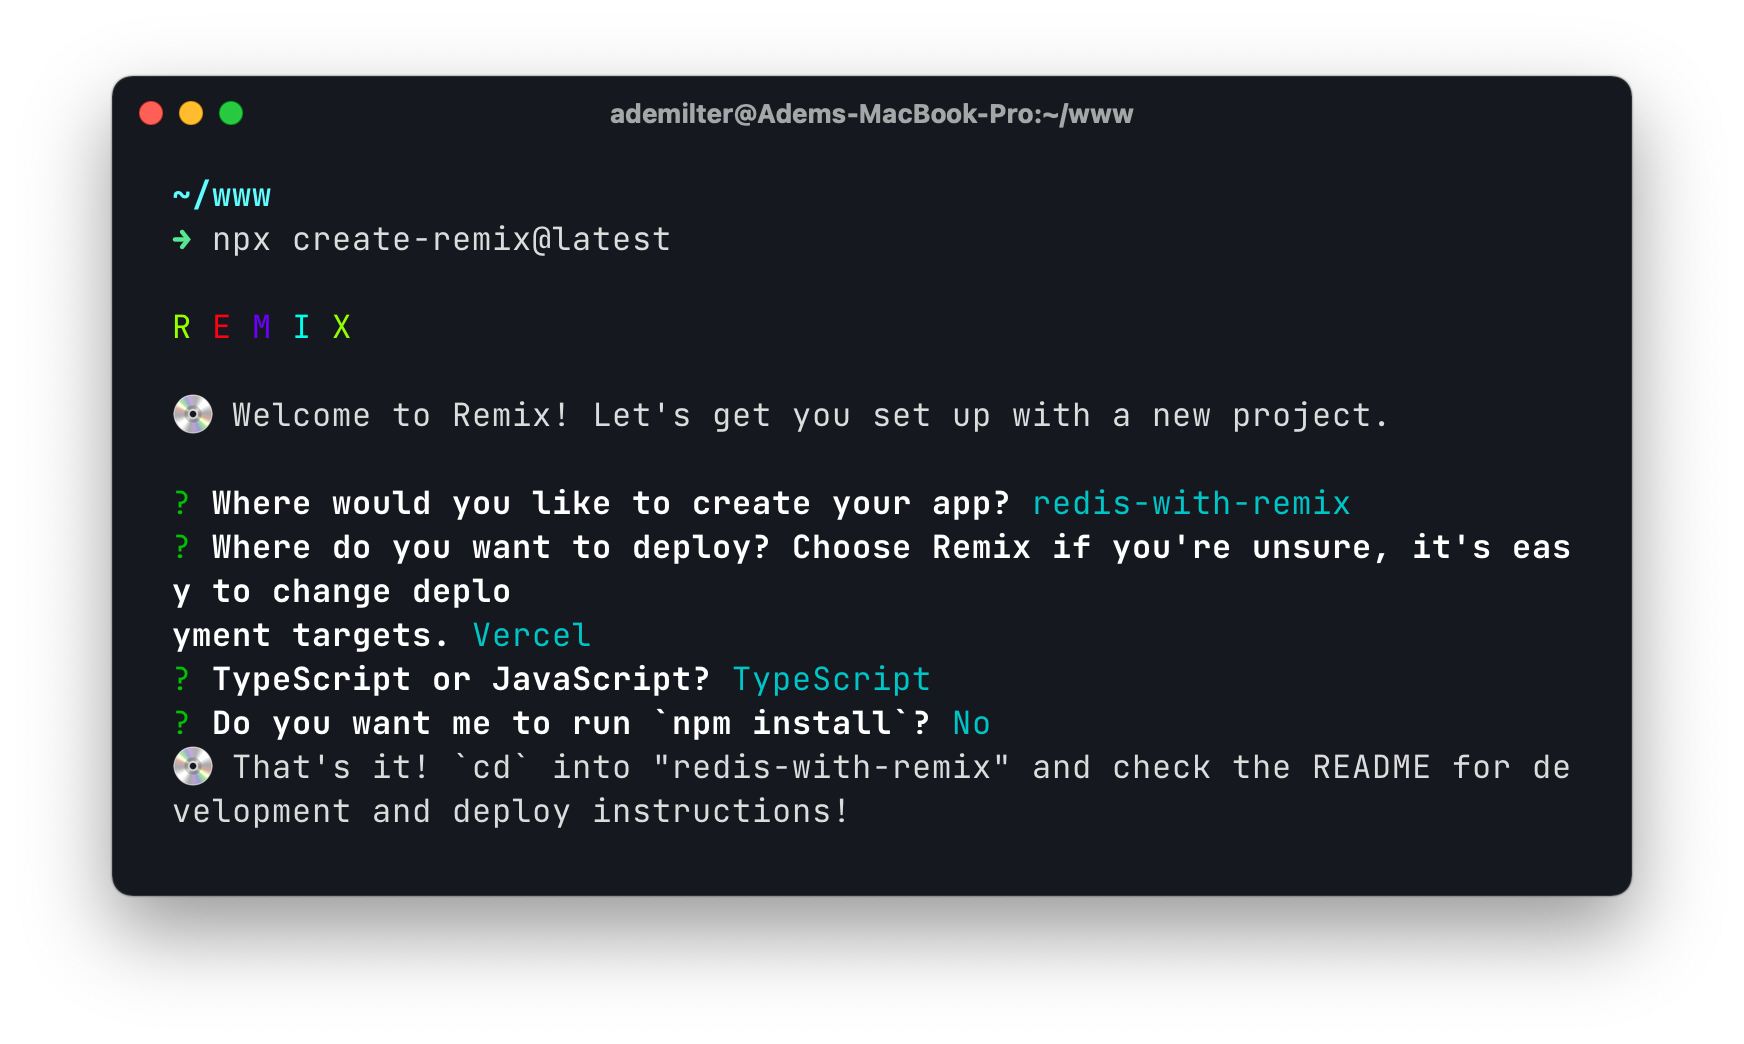
Run the below command:
npx create-remix@latest
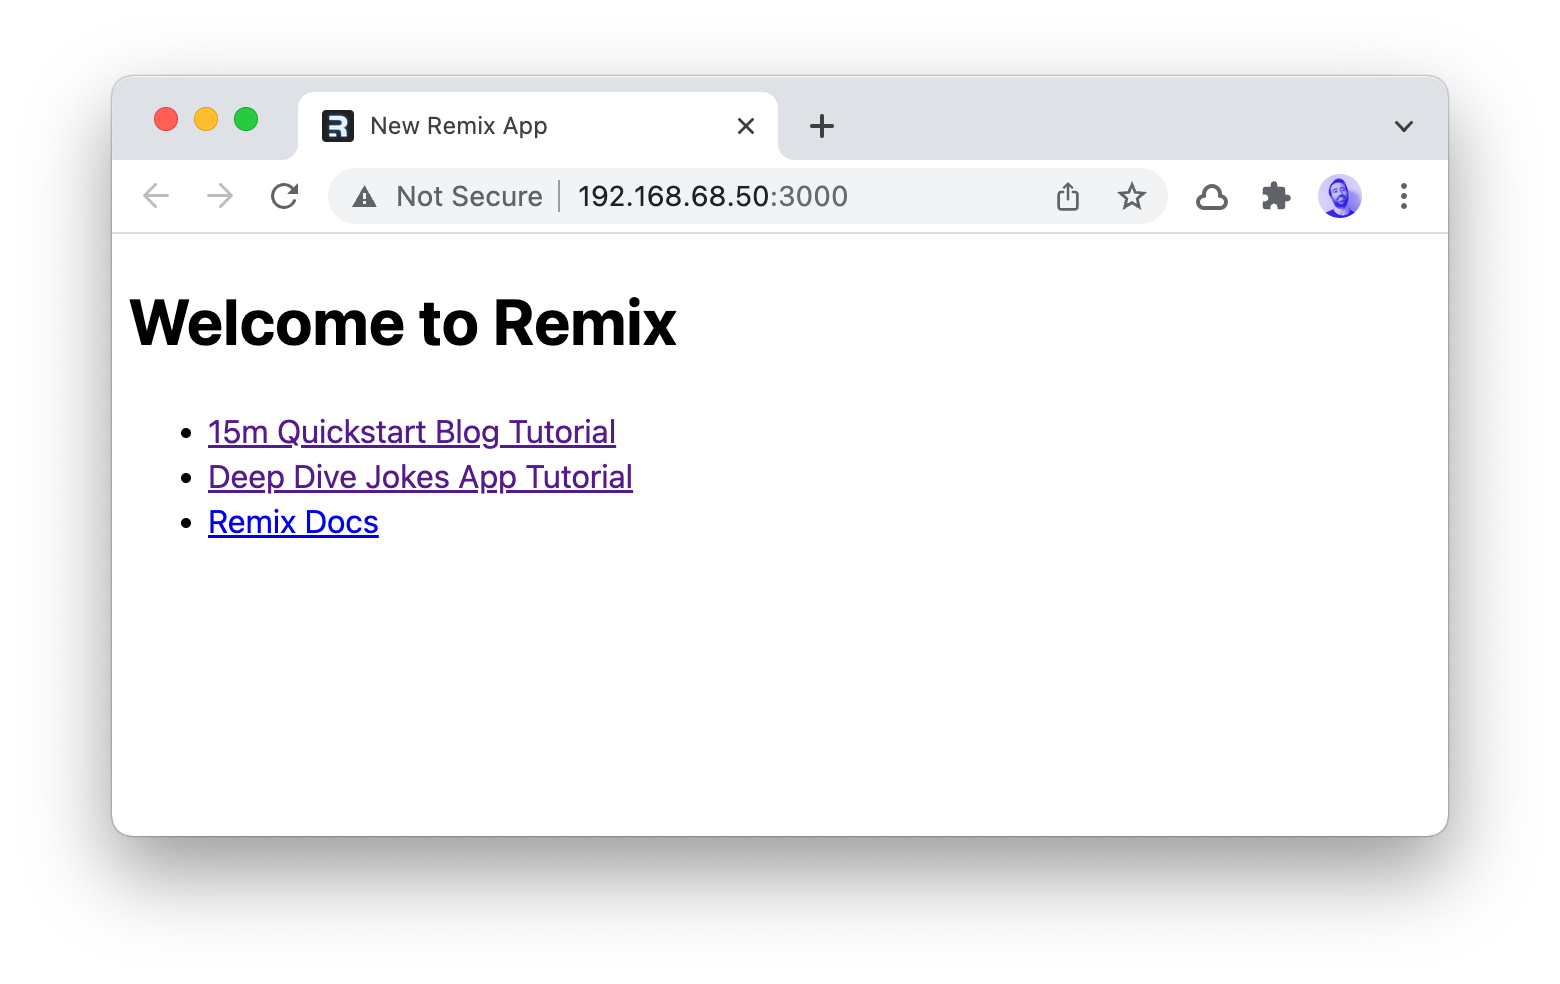
The project is ready. Now let's install the dependencies and run:
npm installnpm run dev
The User Interface
We will build a simple form and a list for todo items:
// app/routes/index.tsx

import { useEffect, useRef } from "react";

import type { Todo } from "~/components/todo-item";
import TodoItem from "~/components/todo-item";
import type { ActionFunction, LoaderFunction } from "remix";
import { Form, redirect, useLoaderData, useTransition } from "remix";

export const loader: LoaderFunction = async () => {
  // example data
  return [
    { id: 1, text: "Task 1", status: false },
    { id: 2, text: "Task 2", status: true },
  ];
};

export const action: ActionFunction = async ({ request }) => {
  // this will be used for create, update and delete operations
};

export default function Index() {
  // for loading and form actions
  const transition = useTransition();

  // to use the loaded data in the page
  const todos: Todo[] = useLoaderData();

  const isCreating = transition.submission?.method === "POST";
  const isAdding = transition.state === "submitting" && isCreating;

  // split the finished and unfinished items
  const uncheckedTodos = todos.filter((todo) => !todo.status);
  const checkedTodos = todos.filter((todo) => todo.status);

  const formRef = useRef<HTMLFormElement>(null);
  const inputRef = useRef<HTMLInputElement>(null);

  useEffect(() => {
    // reset the form after the create
    if (isAdding) return;
    formRef.current?.reset();
    inputRef.current?.focus();
  }, [isAdding]);

  return (
    <main className="container">
      {/* crete form */}
      <Form ref={formRef} method="post">
        <input
          ref={inputRef}
          type="text"
          name="text"
          autoComplete="off"
          className="input"
          placeholder="What needs to be done?"
          disabled={isCreating}
        />
      </Form>

      {/* uncompleted tasks */}
      <div className="todos">
        {uncheckedTodos.map((todo) => (
          <TodoItem key={todo.id} {...todo} />
        ))}
      </div>

      {/* completed tasks */}
      {checkedTodos.length > 0 && (
        <div className="todos todos-done">
          {checkedTodos.map((todo) => (
            <TodoItem key={todo.id} {...todo} />
          ))}
        </div>
      )}
    </main>
  );
}
Here is our TODO component:
// app/components/todo-item.tsx

import { Form } from "remix";

export type Todo = { id: string; text: string; status: boolean };

export default function TodoItem({ id, text, status }: Todo) {
  return (
    <div className="todo">
      <Form method="put">
        {/* this hidden input will keep the data for our todo item */}
        <input
          type="hidden"
          name="todo"
          defaultValue={JSON.stringify({ id, text, status })}
        />
        {/* Remix forms are just like traditional web forms. I like this. */}
        <button type="submit" className="checkbox">
          {status && "✓"}
        </button>
      </Form>

      <span className="text">{text}</span>
    </div>
  );
}
Now it is time to add our CSS file. Create a css file app/styles/app.css:
:root {
  --rounded: 0.25rem;
  --rounded-md: 0.375rem;
  --gray-50: rgb(249, 250, 251);
  --gray-100: rgb(243, 244, 246);
  --gray-200: rgb(229, 231, 235);
  --gray-300: rgb(209, 213, 219);
  --gray-400: rgb(156, 163, 175);
  --gray-500: rgb(107, 114, 128);
  --gray-600: rgb(75, 85, 99);
  --gray-700: rgb(55, 65, 81);
  --gray-800: rgb(31, 41, 55);
  --gray-900: rgb(17, 24, 39);
}

*,
::before,
::after {
  box-sizing: border-box;
  border: 0;
  padding: 0;
}

button,
input,
optgroup,
select,
textarea {
  font-family: inherit;
  font-size: 100%;
  line-height: inherit;
  color: inherit;
  margin: 0;
  padding: 0;
}

button {
  cursor: pointer;
  background-color: white;
}

html {
  font-family:
    ui-sans-serif,
    system-ui,
    -apple-system,
    BlinkMacSystemFont,
    Segoe UI,
    Roboto,
    Helvetica Neue,
    Arial,
    Noto Sans,
    sans-serif,
    Apple Color Emoji,
    Segoe UI Emoji,
    Segoe UI Symbol,
    Noto Color Emoji;
  line-height: 1.5;
  -webkit-font-smoothing: antialiased;
  -moz-osx-font-smoothing: grayscale;
  color: var(--gray-800);
}

.container {
  padding: 8rem 1rem 0;
  margin: 0 auto;
  max-width: 28rem;
}

.input {
  width: 100%;
  padding: 0.75rem 1rem;
  background-color: var(--gray-100);
  border-radius: var(--rounded-md);
}

.input::placeholder {
  color: var(--gray-400);
}

.input:disabled {
  color: var(--gray-600);
  background-color: var(--gray-200);
}

.todos {
  margin-top: 1.5rem;
}

.todos.todos-done {
  background-color: var(--gray-100);
  color: var(--gray-500);
  border-radius: var(--rounded-md);
}

.todo {
  display: flex;
  align-items: center;
  padding: 0.75rem;
  border-radius: var(--rounded-md);
}

.todo + .todo {
  border-top: 1px solid var(--gray-100);
}

.todo .checkbox {
  display: flex;
  align-items: center;
  justify-content: center;
  width: 1.25rem;
  height: 1.25rem;
  border-radius: var(--rounded);
  border: 1px solid var(--gray-300);
  box-shadow: 0 1px 1px 0 rgb(0 0 0 / 10%);
}

.todo .text {
  margin-left: 0.75rem;
}
Import the css under root.tsx:
import {
  Links,
  LiveReload,
  Meta,
  Outlet,
  Scripts,
  ScrollRestoration,
} from "remix";
import type { MetaFunction } from "remix";

import styles from "./styles/app.css";

export function links() {
  return [{ rel: "stylesheet", href: styles }];
}

export const meta: MetaFunction = () => {
  return { title: "Remix Todo App with Redis" };
};

export default function App() {
  // ...
}
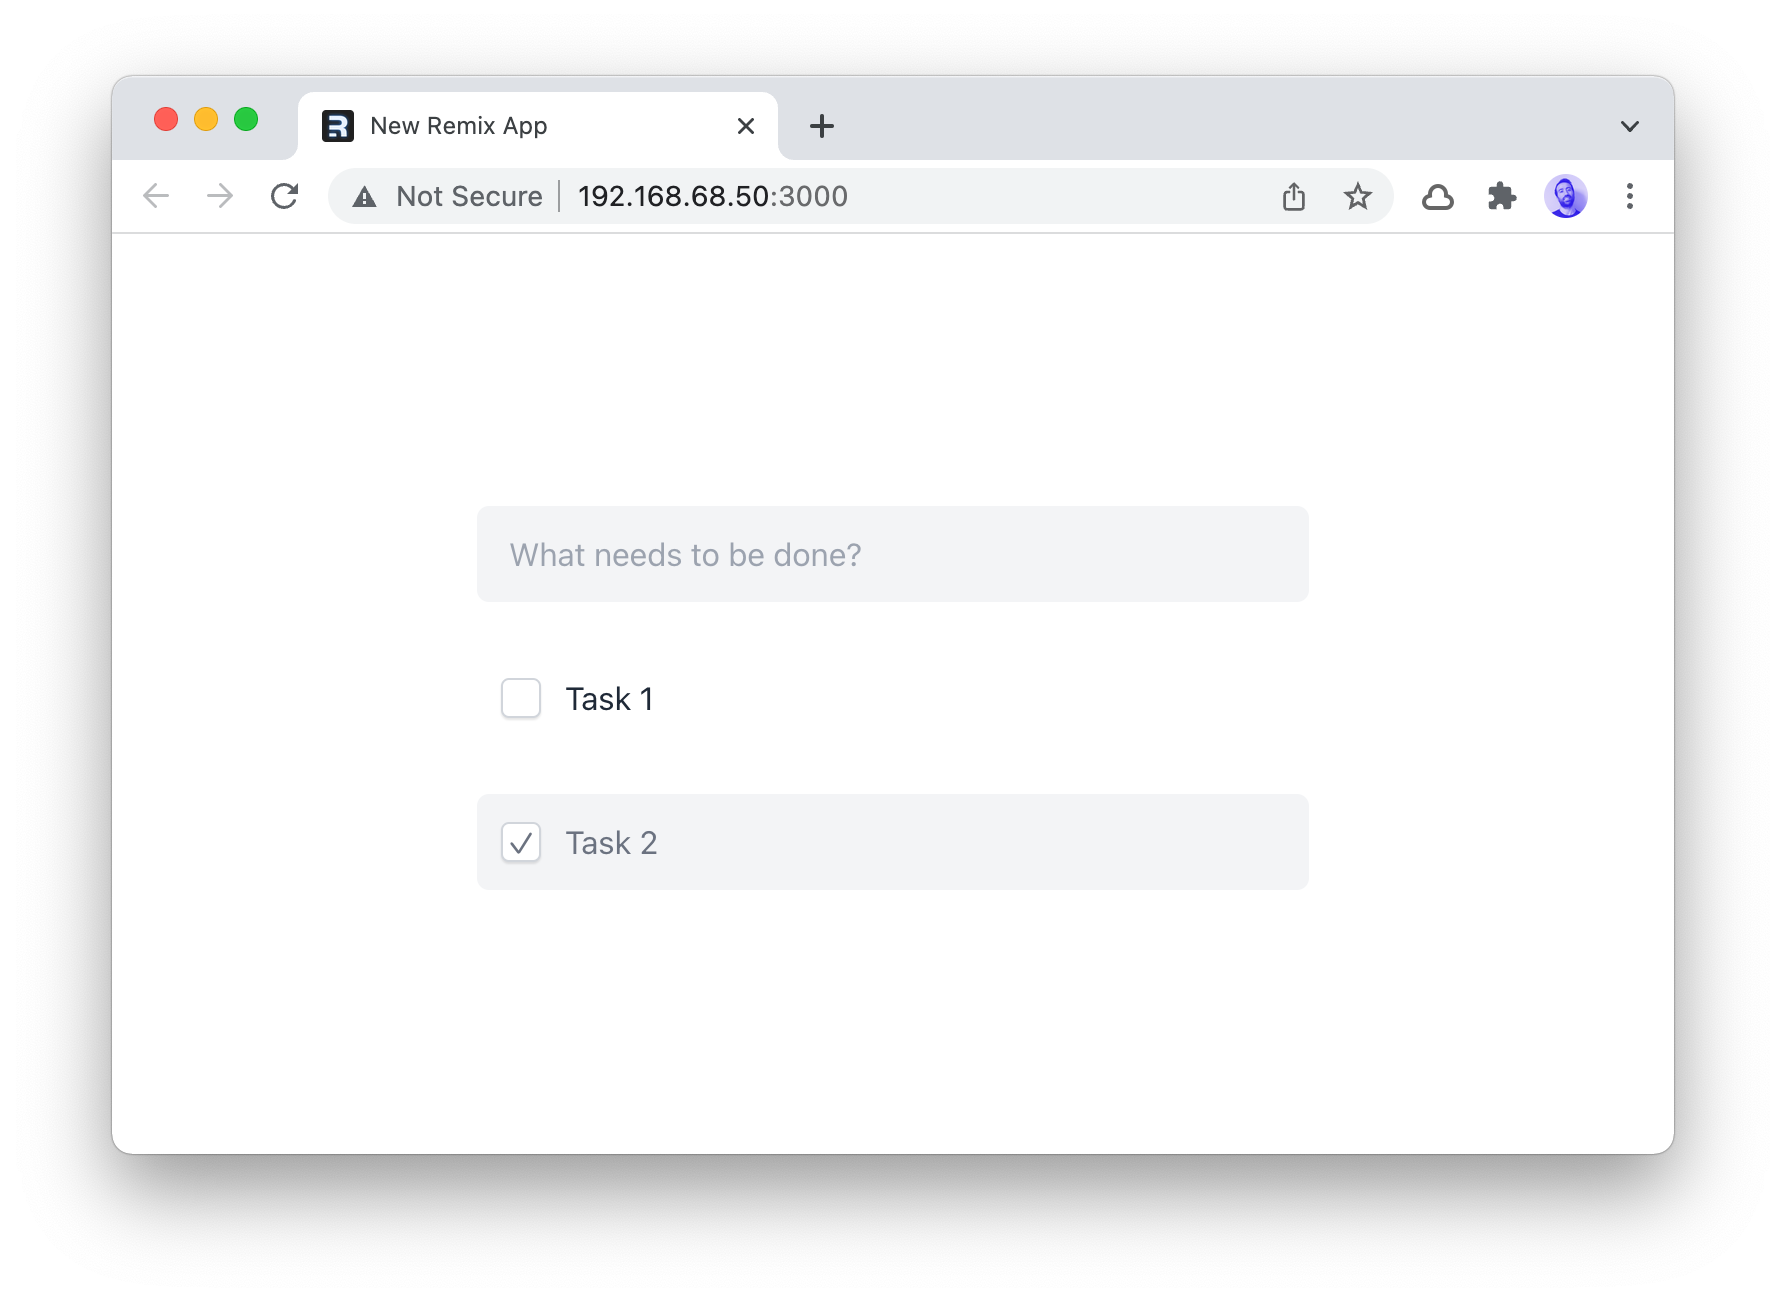
Now you should see:

Prepare the database
We will keep our data in Upstash Redis. So create an Upstash database. We will use HTTP based Upstash client. Let's install:
npm install @upstash/redis:::note Upstash is compatible with Redis API, so you can use any Redis client but you need to change the below code. :::
We can add new TODO items by just submitting the form. We save the new items to Redis Hash.
Copy/paste
UPSTASH_REDIS_REST_URLveUPSTASH_REDIS_REST_TOKENfrom Upstash console.
// app/routes/index.tsx

// ...
import { Redis } from "@upstash/redis";

const redis = new Redis({
  url: "UPSTASH_REDIS_REST_URL",
  token: "UPSTASH_REDIS_REST_TOKEN",
});

export const action: ActionFunction = async ({ request }) => {
  const form = await request.formData();

  if (request.method === "POST") {
    const text = form.get("text");
    if (!text) return redirect("/");

    await redis.hset("remix-todo-example", {
      [Date.now().toString()]: {
        text,
        status: false,
      },
    });
  }

  // to fetch the list after each operation
  return redirect("/");
};

// ...
Now let's list the items:
// app/routes/index.tsx

export const loader: LoaderFunction = async () => {
  const res = await redis.hgetall<Record<string, object>>(DATABASE_KEY);
  const todos = Object.entries(res ?? {}).map(([key, value]) => ({
    id: key,
    ...value,
  }));
  // sort by date (id=timestamp)
  return todos.sort((a, b) => parseInt(b.id) - parseInt(a.id));
};
We have 'create' and 'list' functionality. Now we will implement the part where the user can mark a todo item as done.
// app/routes/index.tsx

export const action: ActionFunction = async ({ request }) => {
  const form = await request.formData();

  // create
  if (request.method === "POST") {
    // ...
  }

  // update
  if (request.method === "PUT") {
    const todo = form.get("todo");
    const { id, text, status } = JSON.parse(todo as string);

    await redis.hset("remix-todo-example", {
      [id]: {
        text,
        status: !status,
      },
    });
  }

  return redirect("/");
};
Now everything is ready! I am planning to implement the same TODO application with Next.js and SvelteKit. Then I will compare my experience in these frameworks.
Stay tuned and follow us at on Twitter and Discord.
Project Source Code
https://github.com/upstash/redis-examples/tree/master/remix-todo-app-with-redis
