Periodic Data Updates with Next.js and Vercel Serverless Functions
For many applications, there is a need to insert or update data in your database
regularly. For example fetching metrics from somewhere or tracking the price of items.
You might want to update these every day, every hour, or every minute. Traditionally you
would have to setup a server, create a repeating job using cron or something
else and then maintain it. This server would continuously fetch updated prices
from an API and then insert them into your database.
What if you could just do this within your existing Next.js application without any additional infrastructure?
QStash allows you to create schedules using CRON and
will send an HTTP request to your API, whenever it triggers. This allows you
to run your business logic inside serverless functions on a schedule.
What will we build?
In this post, we will build a simple application to continuously fetch the current USD price of Bitcoin from blockchain.info and store it in a Redis database. I chose Redis here because it's very simple to set up, but you can use any other database if you want.
Application
If you don't have an existing Next.js application, you can create a new one with
npx create-next-app@latest --ts.
We need two dependencies to build our example:
- @upstash/redis - Redis will serve as the database.
- @upstash/qstash - The QStash sdk allows us to verify incoming webhooks from Upstash.
Install them with:
npm install @upstash/redis @upstash/qstashThe API handler
Let's create a new api route in /pages/api/cron.ts, that will be called by
QStash when the schedule triggers.
Here are the dependencies:
import { NextApiRequest, NextApiResponse } from "next";

import { verifySignature } from "@upstash/qstash/nextjs";
import { Redis } from "@upstash/redis";
Next, we create the actual handler function. Please note that it is not exported yet!
The first step is to get fresh data from the API (blockchain.info in this case), and then store it in our database of choice. Here we store the current exchange rate together with the current timestamp.
async function handler(_req: NextApiRequest, res: NextApiResponse) {
  try {
    /**
     * The API returns something like this:
     * ```json
     * {
     *   "USD": {
     *     "last": 123
     *   },
     *   ...
     * }
     * ```
     */
    const raw = await fetch("https://blockchain.info/ticker");
    const prices = await raw.json();
    const bitcoinPrice = prices["USD"]["last"] as number;

    /**
     * After we have loaded the current bitcoin price, we can store it in the
     * database together with the current time
     */
    const redis = Redis.fromEnv();
    await redis.zadd("bitcoin-prices", {
      score: Date.now(),
      member: bitcoinPrice,
    });

    res.send("OK");
  } catch (err) {
    res.status(500).send(err);
  } finally {
    res.end();
  }
}
Lastly, we wrap the handler with verifySignature, so that we can verify that
the request is coming from Upstash. You can read more about this in the
QStash documentation. And we
also need to disable automatic parsing of the request body, in order to allow
verifySignature to work properly.
/**
 * Wrap your handler with `verifySignature` to automatically reject all
 * requests that are not coming from Upstash.
 */
export default verifySignature(handler);

/**
 * To verify the authenticity of the incoming request in the `verifySignature`
 * function, we need access to the raw request body.
 */
export const config = {
  api: {
    bodyParser: false,
  },
};
The file can be found here.
The next step is to deploy it on Vercel.
Deployment
You can either push your code to a git repository and deploy it to Vercel, or you can deploy it directly from your local machine using the vercel cli.
For a more in-depth tutorial on how to deploy to Vercel, check out this quickstart.
After you have deployed your app, it is time to add your secrets to your environment variables.
Secrets
Head over to QStash and copy the
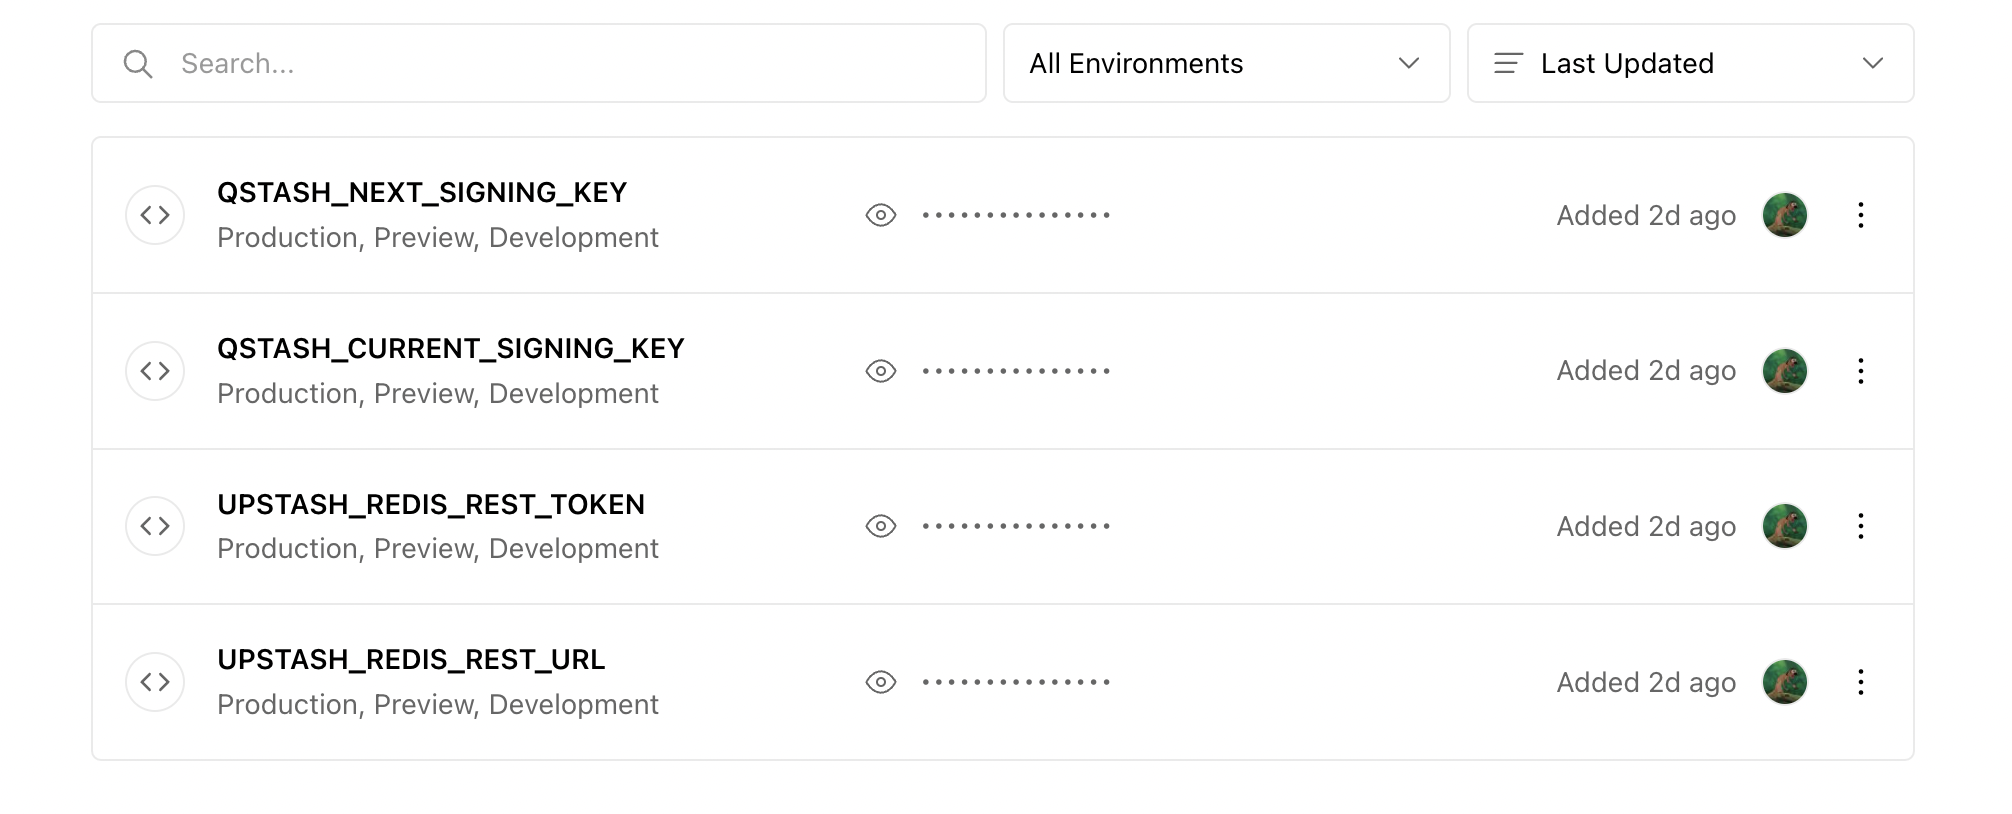
QSTASH_CURRENT_SIGNING_KEY and QSTASH_NEXT_SIGNING_KEY to vercel's
environment variables.
If you are not using a custom database, you can quickly create a new
Redis database. Afterwards copy the
UPSTASH_REDIS_REST_URL and UPSTASH_REDIS_REST_TOKEN to vercel.
You should now have 4 environment variables in your vercel project:

Redeploy the app for the changes to take effect.
Create a schedule
The final step is to create a schedule that will trigger our handler function.
- Go to console.upstash.com/qstash and scroll down to the Request Builder.
- Configure the endpoint URL as
https://[YOUR_VERCEL_PROJECT_DOMAIN]/api/cron - Select the type as
Scheduled. - Configure the cron schedule to run whenever you want. (every hour in this case)
- Click on Schedule.

Wrapping up
That's it; your serverless function will now be called periodically and will insert new data into the database.
After a while, you can check the data in the database. We have also created a small frontend for this application but that is neither necessary, nor important for this example. It involves a few more dependencies for styling and the chart, but you can check it out here.

If you have any questions, please reach out to us on Discord and Twitter.
