Getting Started with Netlify Edge Functions and Serverless Redis
Recently, Netlify announced Edge Functions where you can run your code at edge locations on Deno runtime with globally low latency. In this post, we will build a simple app which runs Netlify Edge functions and accesses Upstash Redis® as a data store. Upstash Redis® is a perfect match for Netlify Edge Functions because:
- Upstash Redis has Global database type where the Redis replicas are distributed all over the world. So your edge function will access to the closest region with low latency.
- Upstash Redis has a built-in REST API and SDK which is free from any connection issues common in serverless runtimes.
- Upstash Redis has a JS SDK which is built and tested with Deno runtime
Project Setup
You can check out this folder if you want to skip the below steps.

Create an empty Node project (npm init) and create hello.js
under netlify>edge-functions as below:
import { Redis } from "https://deno.land/x/upstash_redis@v1.3.2/mod.ts";

export default async () => {
  const redis = Redis.fromEnv();
  const counter = await redis.incr("edge_counter");
  return new Response(counter);
};
Create a netlify.toml file in your project folder
[[edge_functions]]
path = "/test"
function = "hello"
Create an .env file in your project folder
UPSTASH_REDIS_REST_URL=
UPSTASH_REDIS_REST_TOKEN=
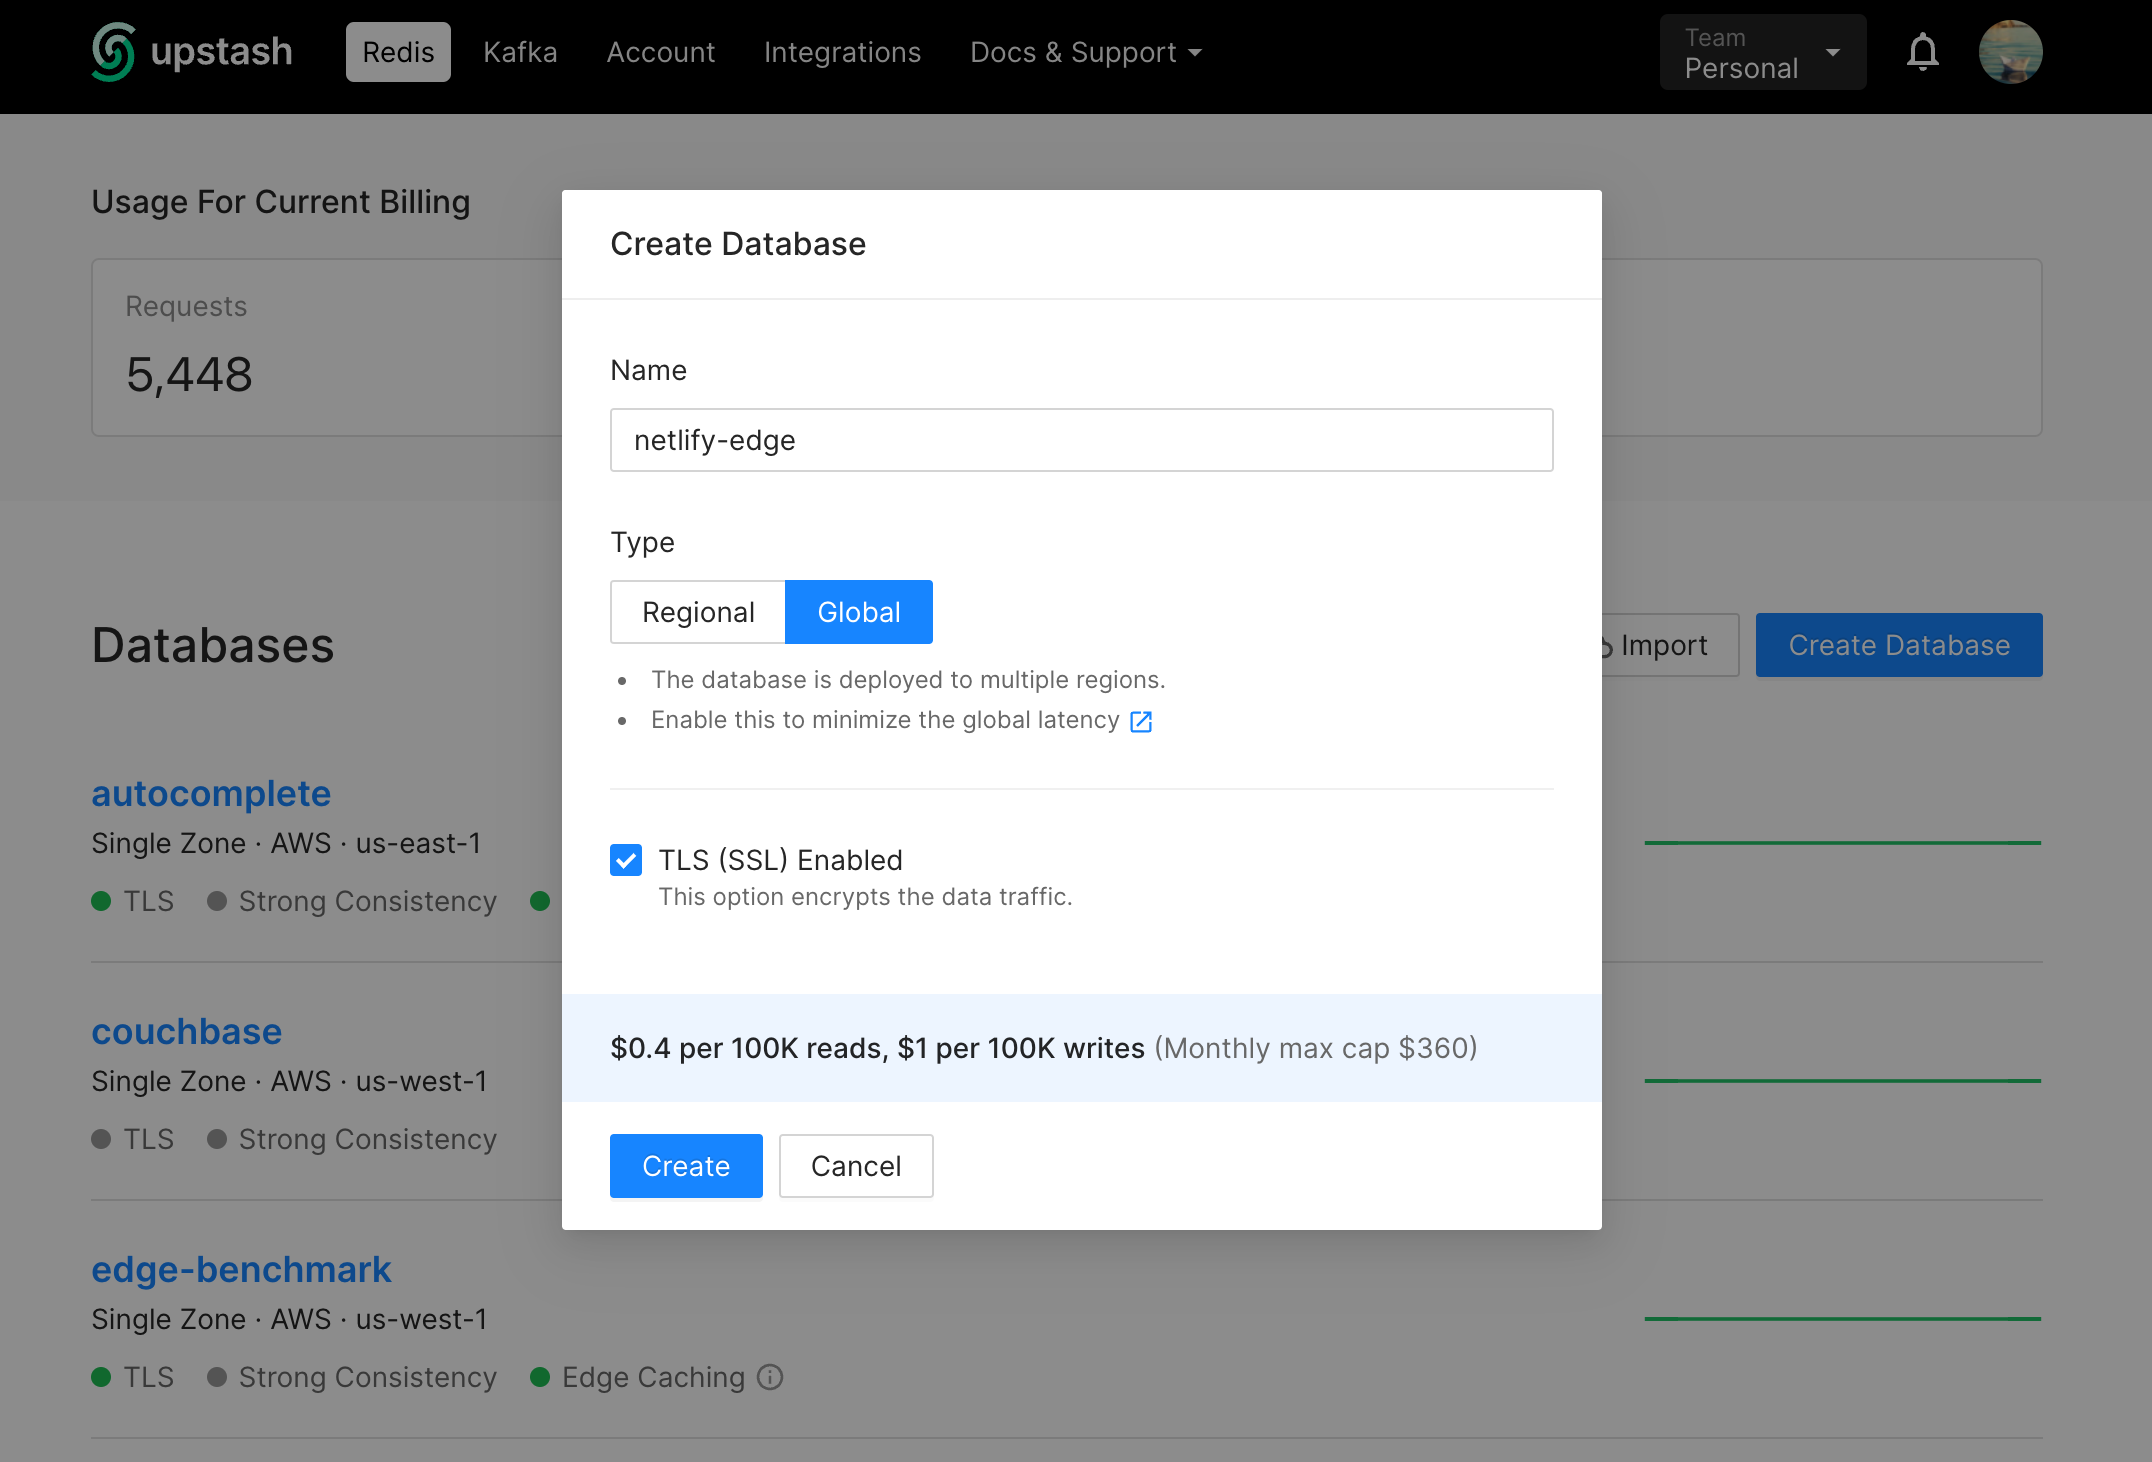
Now, create a Redis database
from Upstash Console. Select the Global database
to minimize the latency from your edge functions. Copy the REST_URL and
REST_TOKEN from Upstash dashboard and paste to the .env.

Test and Deploy
You can run the application locally via:
netlify dev and check http://localhost:8888/test
Also, you can deploy your app using Netlify dashboard. You need to set Upstash URL and Token as an environment variable in Netlify.

Closing Words
In this article, we have showcased how to use Upstash Redis in Netlify Edge Functions.
Feel free to reach out us on GitHub , Discord and Twitter for any issues or comments.
