- This example uses an older version of Fastly CLI. Check this article for an up-to-date version.
In this post, we will write a simple application which will run on Fastly Compute@Edge. The application will access Upstash Redis to keep track of page views.
Motivation
Edge Computing is one of the most exciting trends in recent years. CDN services like Cloudflare and Fastly started to enable users to run their applications on their edge infrastructure. This helps developers to build globally distributed, high performance applications.
Compute@Edge is the serverless platform from Fastly. You can write your code in Rust, AssemblyScript, Javascript and run in Fastly’s edge network. Fastly Compute functions are stateless. This means developers should keep their application state at an external storage. But Fastly uses WebAssembly as the runtime for the functions and it does not allow TCP connections. Upstash Redis® is a perfect solution for Fastly Compute functions with REST API, global replication and serverless pricing.
Project Setup
Create a database in the Upstash Console. Prefer Global Database for low latency from edge locations.
Install fastly cli:
brew install fastly/tap/fastly
Configure your CLI with your Fastly account:
fastly configure
Create a folder and init your project by running fastly compute init inside the folder:
➜  using-fastly-compute git:(master) ✗ fastly compute init

Creating a new Compute@Edge project.

Press ^C at any time to quit.

Name: [using-fastly-compute]

Description:

authors:
  -  [enes@upstash.com]

Language:

[1] Rust
[2] AssemblyScript (beta)
[3] JavaScript (beta)
[4] Other ('bring your own' Wasm binary)

Choose option: [1] 3

Starter kit:
[1] Default starter for JavaScript
    A basic starter kit that demonstrates routing, simple synthetic responses and
    overriding caching rules.
    https://github.com/fastly/compute-starter-kit-javascript-default
Choose option or paste git URL: [1]

✓ Initializing...
✓ Fetching package template...
✓ Updating package manifest...
✓ Initializing package...

Initialized package using-fastly-compute to:

	/Users/enes/dev/examples/using-fastly-compute

To publish the package (build and deploy), run:
	fastly compute publish
To learn about deploying Compute@Edge projects using third-party orchestration tools, visit:
	https://developer.fastly.com/learning/integrations/orchestration/
SUCCESS: Initialized package using-fastly-compute
Install upstash-redis and flight-path:
npm install @upstash/redis flight-path
Update your webpack.config.js adding these plugins:
plugins: [
    // Polyfills go here.
    // Used for, e.g., any cross-platform WHATWG,
    // or core nodejs modules needed for your application.
    new webpack.ProvidePlugin({
        URL: "core-js/web/url",
    }),
],
Update your fastly.toml file:
authors = ["enes@upstash.com"]
description = "Example of using Upstash with Fastly Compute@Edge"
language = "javascript"
manifest_version = 2
name = "fastly-upstash"
service_id = "PASTE_YOUR_SERVICE_ID"

[local_server.backends.upstash-db]
url = "https://eu1-liberal-cat-30162.upstash.io"
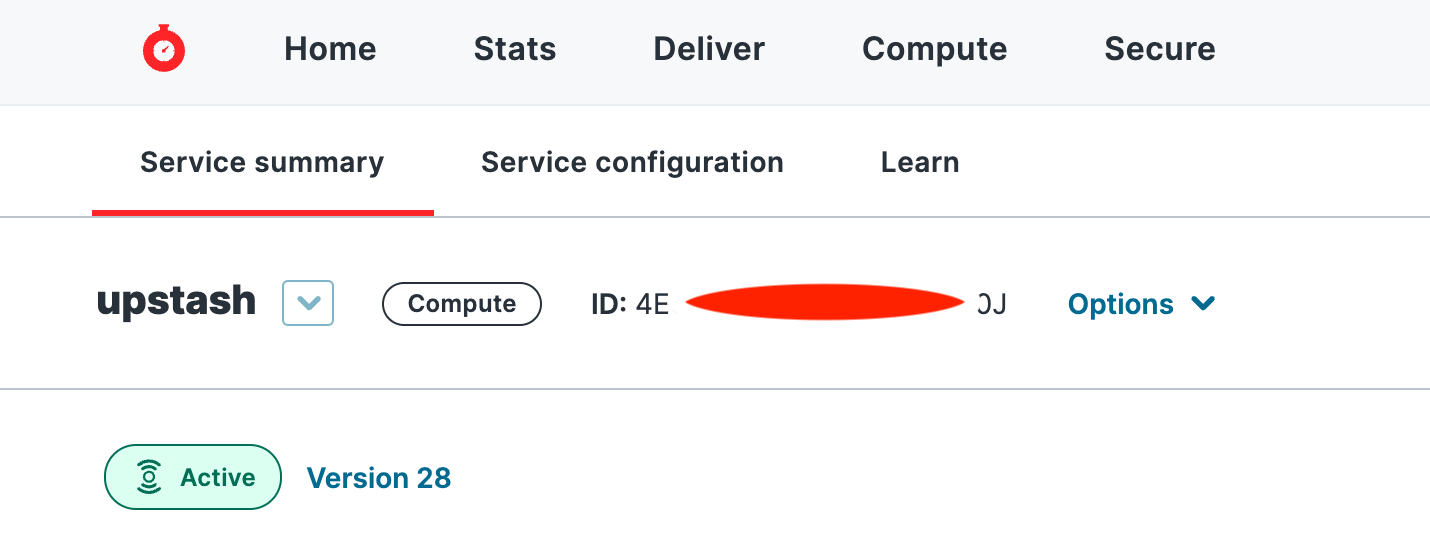
You need to create a Fastly Compute Service and paste your Fastly Service Id above.

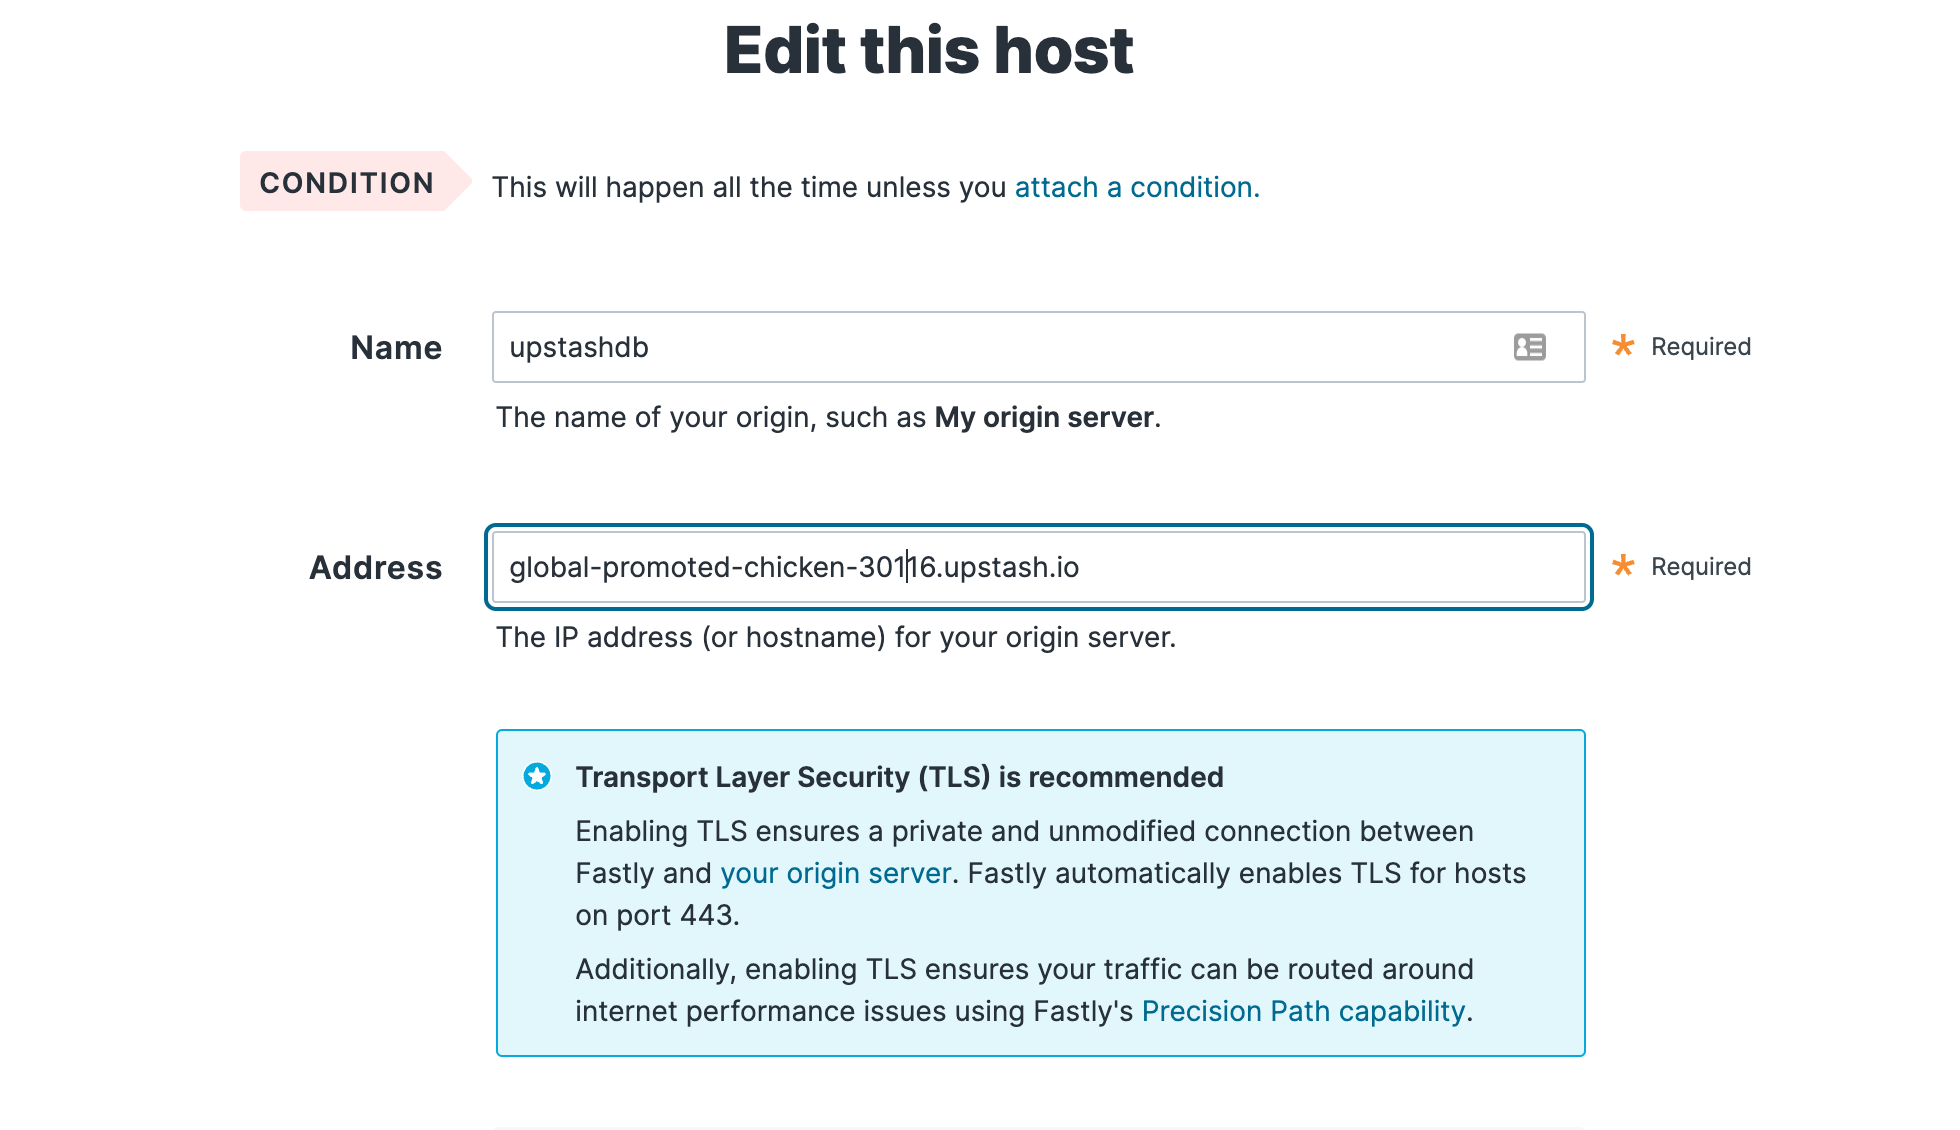
Also you need to add the Upstash REST URL as a backend to your Fastly Compute Service. Fastly Compute requires any external network connection to be registered as a backend. On services screen, click Edit Configuration > Clone version x to edit > Origins > Create a host
After adding the host, click to edit icon to add a name for the host. Set the name as upstash-db which will be equal to the backend option while we are configuring the upstash-redis client. Remove the https:// part from the url. Finally click on Activate button on top right corner to activate the configuration with the current deployment.

Local_server.backends.upstash-db is required for you to run your function locally. Replace url with the REST url of your Upstash Database.
Implementation
src/index.js is the implementation of the serverless function. Edit the code as below:
import { Redis } from "@upstash/redis/fastly";
import { Router } from "flight-path";

const router = new Router();

const redis = new Redis({
  url: "PASTE_YOUR_UPSTASH_REST_URL",
  token: "PASTE_YOUR_UPSTASH_TOKEN",
  backend: "upstash-db",
});

router.get("/", async (req, res) => {
  const count = await redis.incr("count");
  res.send(`Fastly with Upstash! Count: ${count}`);
});

router.listen();
You need to copy and paste REST URL and token from the Upstash console
We simply connect to Upstash using upstash-redis client. We increment a counter and return the response.
Note that you can not use other Redis® clients as they use TCP connection which is not supported by Fastly Compute.
While authenticating with auth(), you need to add backend: upstash-db as an extra request option. This is required as Fastly Compute requires any external network connection to be registered as a backend.
Run Locally
You can run the function locally by:
fastly compute serve
Build and Deploy
Build and deploy your function with:
fastly compute publish
Your application will be built and deployed by Fastly. The command will log the url so you can test if it is working:
https://horribly-organic-spider.edgecompute.app
Closing Words
In this article we have created a very simple application which runs on Fastly Compute at Edge using Upstash. We love to improve Upstash and our content by your feedback. Let us know your thoughts on Twitter or Discord.
